You’ve got an app idea. It feels solid. Maybe even exciting enough to sketch it out at 2 AM.
But then comes the big question. How long will it take to turn that idea into something real? And what does “real” even mean at the early stage?
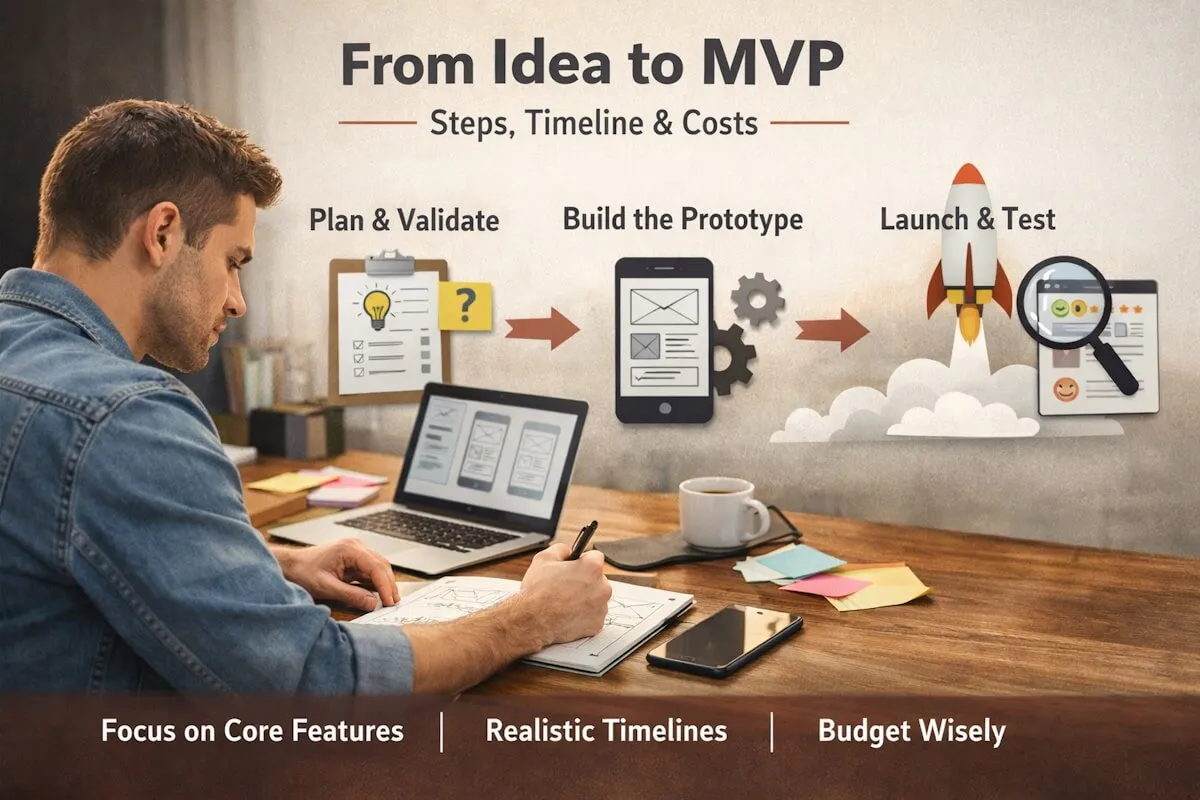
That’s where the concept of an MVP comes in. Not a full-blown app. Not a half-baked prototype either. Something in between. Something usable.
Let’s break this down in a way that actually helps you plan your next move without getting lost in vague timelines or buzzwords.
What Does “0 to MVP” Really Mean?
At a glance, it sounds simple. Start from scratch and build a Minimum Viable Product.
But in practice, it’s not just about coding. It includes:
- Validating your idea
- Deciding what not to build
- Designing user flows
- Writing backend logic
- Testing real usage
An MVP is not your final product. It’s your first version that people can actually use and respond to.
So no, it won’t have every feature you imagined. And that’s a good thing.
Step 1: Clarifying the Core Idea
Before anything gets built, you need clarity.
Ask yourself:
- What problem does your app solve?
- Who exactly is it for?
- What’s the one thing it must do well?
This step sounds basic, but skipping it creates chaos later.
A lot of founders try to pack everything into version one. That slows things down. It also makes the app harder to use.
Instead, narrow your focus. Keep it tight.
Step 2: Feature Selection Without Overthinking
Here’s where things get tricky.
You might have a list of 20 features. Maybe more. But your MVP should only include the essentials.
A quick way to filter:
- Must-have features: required for the app to function
- Nice-to-have features: can wait
- Future ideas: definitely not now
Let’s say you’re building a food delivery app. Your MVP needs ordering, payments, and tracking. It doesn’t need loyalty points or advanced analytics yet.
Simple choices lead to faster builds.
Step 3: Design That Doesn’t Slow You Down
Design matters. But over-designing at MVP stage can delay everything.
You don’t need complex animations or fancy transitions. What you need is:
- Clear navigation
- Simple screens
- Easy onboarding
Users should understand your app without instructions.
This is where working with teams offering React Native App Development Services can help. They often follow a practical approach, focusing on usability over visual noise.
Step 4: Choosing the Right Tech Approach
Now comes the technical side.
You could build separate apps for iOS and Android. Or you can go cross-platform.
For most MVPs, cross-platform frameworks make more sense. They reduce time and cost.
React Native is one of the popular choices here. It allows you to use a single codebase for both platforms.
But tools alone don’t build apps. People do.
That’s why many businesses choose to Hire React Native Developers who already understand how to balance speed and quality without overcomplicating things.
Step 5: Development Timeline – What’s Realistic?
This is the part everyone wants a clear answer to.
“How long will it take?”
The honest answer: it depends on scope. But here’s a rough breakdown for a typical MVP:
- Planning and research: 1 to 2 weeks
- Design: 2 to 3 weeks
- Development: 6 to 10 weeks
- Testing and fixes: 2 to 3 weeks
So overall, you’re looking at around 10 to 16 weeks.
Could it be faster? Yes, if the scope is tight.
Could it take longer? Also yes, if requirements keep changing.
Consistency matters more than speed here.
Step 6: Budget Expectations
Let’s talk money.
MVP costs vary widely. But here’s a practical range:
- Simple MVP: $10,000 to $25,000
- Mid-level MVP: $25,000 to $60,000
- Complex MVP: $60,000+
The cost depends on:
- Number of features
- Backend complexity
- Third-party integrations
- Team location and experience
Trying to cut costs too aggressively often leads to rework later. That ends up costing more.
So think of your MVP as an investment, not an expense.
Step 7: Testing Is Not Optional
Some teams rush through testing just to launch faster.
That’s risky.
Your MVP doesn’t need to be perfect, but it must work. Basic flows should be smooth. Crashes should be minimal.
Focus on:
- Functional testing
- Device compatibility
- Performance under light usage
Even a small group of real users can reveal issues you didn’t expect.
Step 8: Launching Without Overthinking
Once your MVP is ready, don’t wait for perfection.
Launch it.
Put it in front of users. Collect feedback. Watch how people interact with it.
You’ll learn more in one week of real usage than in months of internal discussions.
And yes, some users will point out flaws. That’s the point.
Step 9: Post-MVP Reality Check
Here’s something many people don’t expect.
The work doesn’t slow down after launch. It actually shifts.
Now you’ll focus on:
- User feedback
- Feature improvements
- Bug fixes
- Scaling infrastructure
This is where your app starts taking shape based on real demand, not assumptions.
Common Mistakes That Slow Everything Down
Let’s be honest. A lot of delays are avoidable.
Here are some common ones:
Trying to build too much too early
Changing requirements mid-development
Ignoring user feedback
Hiring based on cost alone
Skipping proper planning
Each of these adds friction. Sometimes a lot.
So, What Should You Expect?
Building an MVP is not instant. It takes time, decisions, and trade-offs.
But it’s also not as overwhelming as it seems when you break it down.
If you:
- Stay focused on core features
- Work with the right team
- Keep communication clear
You can go from idea to working product in a few months.
And that’s a strong place to start.
One Last Thought Before You Start
Ask yourself this.
Do you want to build something perfect, or something people can actually use?
Because those are two very different paths.
Start small. Learn fast. Improve as you go.
That’s how most successful apps begin.